iPad Glass Refurbishment

At The Fone Shop, we’re fully equipped to perform glass only replacements on all models of iPad. Since 2014, Apple made the decision to bond together the glass and the LCD panel on the higher end models of iPad:

  • iPad Air 2 (2014)
  • iPad Air 3 (2019)
  • iPad Air 4 (2020)
  • iPad Mini 4 (2015)
  • iPad Mini 5 (2019)
  • iPad Pro 9.7″ (2016)
  • iPad Pro 10.5″ (2017)
  • iPad Pro 11″ (2018 & 2020)
  • iPad Pro 12.9″ (2015, 2017, 2018 & 2020)

Whilst giving a much better finish, this does come at a price. Most repair shops can only offer a full glass, digitiser and LCD replacement at a much greater cost than only replacing the glass. At The Fone Shop, we’ve invested in the latest machinery to perform a glass only replacement on all of the newer style iPad screens, this means 2 things:

  • The original LCD (colours, backlight, refresh rate) all remain unaffected, giving you peace of mind that your iPad screen looks just as clear as when it was new.
  • By just changing the glass (and digitiser if necessary) we can pass the savings on to you. Example: iPad Pro 10.5″ glass replacement (£95) less than half price of a full display (£210) – prices accurate April 2021

So, how do we do it? We’ve highlighted a few steps of the lengthy process below to show what goes in to refurbishing an iPad screen.

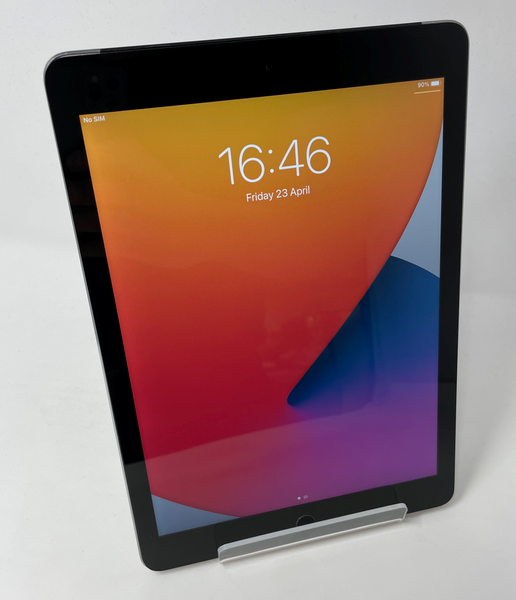
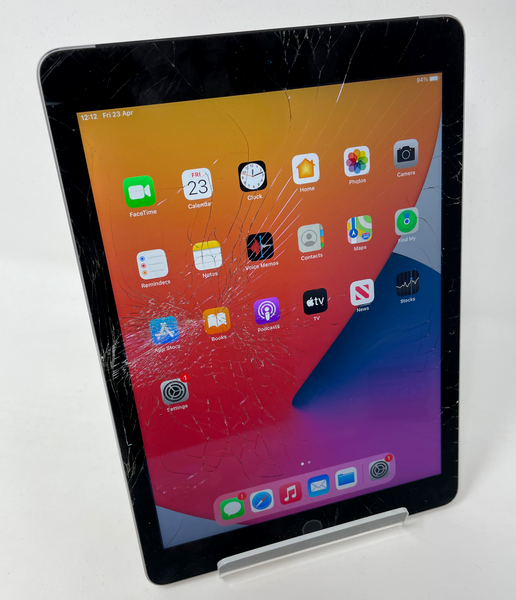
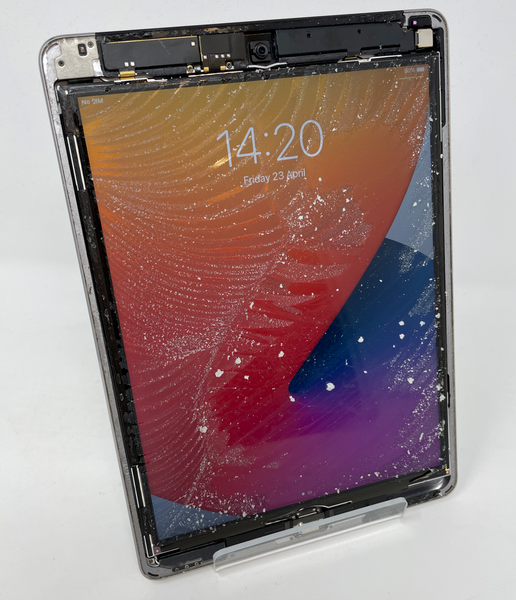
This iPad is covered in cracks from a heavy impact, the whole screen is shattered and the customer feared a complete display replacement was needed.

We disassembled the iPad by removing the LCD from the housing. Next, we separate the glass and digitiser from the LCD panel. This leaves behind a glue residue from bonded glass called OCA (optically clear adhesive)

Next, we clean off all of the old OCA and check that the display is fully working, no blemishes or black spots. On to the next step – laminating a new glass and touch screen digitiser.

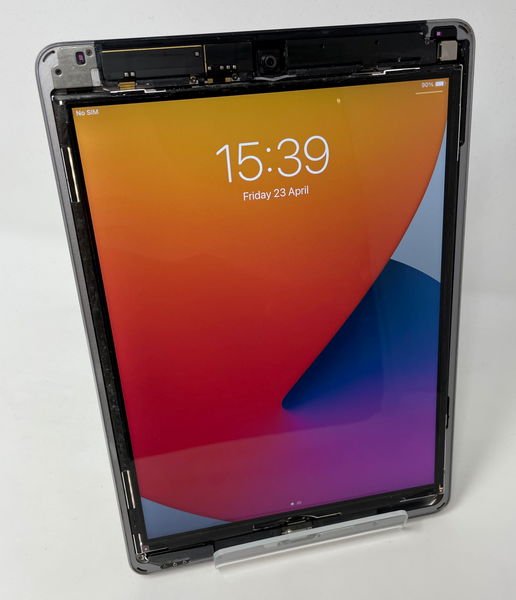
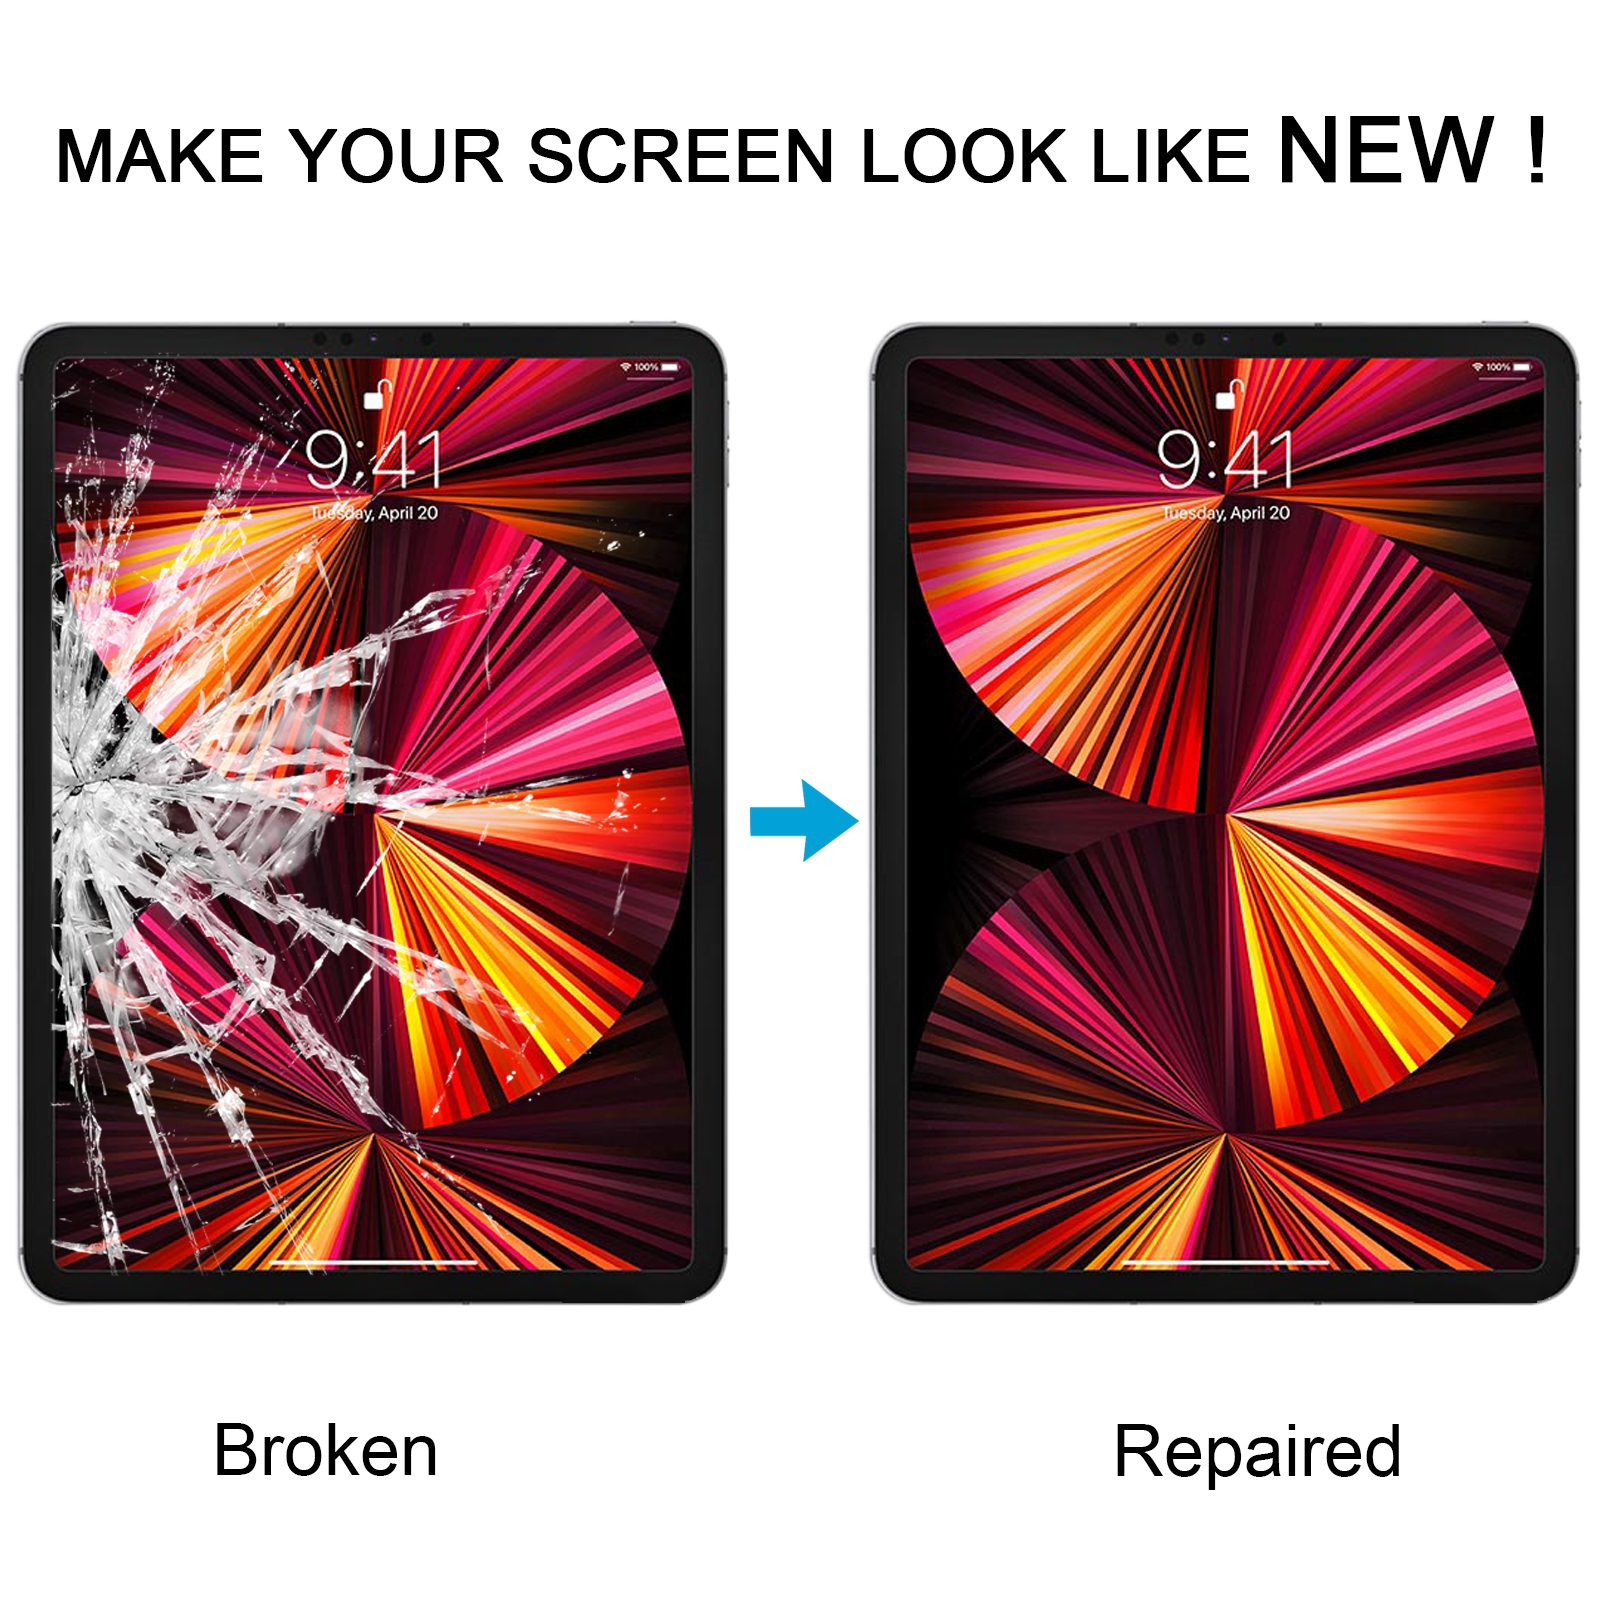
The final step, the new glass is laminated to the original LCD and looks as good as new! Ready to be reassembled and given back to the customer.

iPhone Component Warnings Explained

Starting with the iPhone 11 and later models, Apple introduced software warnings that indicate when a component has been replaced, regardless of whether it’s a genuine part. For the new part to function properly, it needs to have your device’s serial number associated with it, which can only be done by Apple.

Screen/Display Notification 

**Applicable Models:** iPhone 11, 12, 13 series (including Pro, Pro Max & Mini) 

Upon screen replacement for the iPhone 11 and newer, an “Important Display Message” will appear on your device. Rest assured, this notification is normal and does not impact your iPhone’s performance. This measure highlights that your device has undergone a repair previously without compromising its integrity. The message will remain visible for two weeks, after which it will also be accessible in Settings > General > About.

Battery Notification 

**Applicable Models:** iPhone XS, XR, 11, 12, 13 series (including Pro, Pro Max & Mini) 

After replacing the battery on iPhone XR and newer models, your device will show an “Important Battery Message.” Again, there’s no need for concern, as this does not affect your phone’s functionality. This change aims to indicate that the iPhone has had a repair, but it does not impact the device’s overall integrity. The message will be visible for four days and will then be stored in Settings > General > About.

After a battery replacement, you may find that you can no longer check the battery health through your phone’s menu. However, we can assist with this check using our computer.

Camera Notification 

**Applicable Models:** iPhone 12 & 13 series (including Pro, Pro Max & Mini) 

If you’ve replaced the camera on your iPhone 12 or newer, you will see an “Important Camera Message.” This is also a standard notification and does not affect the performance of your device. Like the other messages, this is a way for Apple to note that a repair has been made without affecting the integrity of your phone. The message will be shown for two weeks and will be accessible in Settings > General > About thereafter.

**HDMI Port Trouble?**

Have you ever wondered what happens to an HDMI port after countless cable insertions and removals? The truth is, they wear down over time and can ultimately fail.

Damage to HDMI ports typically occurs when gaming consoles are bumped, dropped, or yanked while connected. These ports are quite sensitive, and any slight impact can lead to issues!

Throughout our years of service and thousands of repairs, we’ve encountered a variety of problems. However, HDMI port replacements have become one of the most frequent repairs for newer consoles. We’re currently seeing a significant need for HDMI port replacements on all Xbox One and PS4 models, and we’re already beginning to service Series X and PS5 units as well.

**How Can We Assist You?** 

We can replace any bent, broken, or damaged HDMI sockets with brand new ones, so you can get back to gaming quickly. Most repairs can be completed in-store within just a few hours.

**What Does the Repair Entail?** 

This isn’t your typical DIY project! The HDMI port is intricately micro-soldered to the motherboard, which requires precise removal and replacement by our expert technicians.

**Console Repair – Micro Soldering at Distex, Rotherham**

**What Will It Cost?** 

For pricing details, feel free to reach out to us here: https://thefoneshop.co.uk/pages/contact-us

**Is This the Right Repair for You?** 

You may need a repair if you notice any of the following issues: 

– Bent pins in the HDMI port 

– Visibly damaged HDMI port 

– A loose or wobbly port 

– Console powers up but shows no display 

If any of these sound familiar, we can help! No appointment is necessary—just stop by with your console, and we’ll get started right away.

Our location and current hours can be found below. We look forward to seeing you soon!

https://thefoneshop.co.uk/pages/contact-us
Back to Top
Product has been added to your cart